The KitchenAid Ice Cream Recipe Book offers a variety of delicious recipes. Free downloadable PDFs and online resources provide easy access to classic and unique ice cream flavors.
Overview of the KitchenAid Ice Cream Maker Attachment
The KitchenAid Ice Cream Maker Attachment is a versatile tool designed for use with KitchenAid stand mixers. It includes a 2-quart, double-walled freezer bowl, a dasher, and a drive assembly. This attachment allows users to churn homemade ice cream with ease, producing up to 2 quarts of creamy treats. The bowl must be pre-frozen for 15-16 hours before use, ensuring optimal churning performance. The attachment is compatible with most KitchenAid stand mixers, excluding select models. It also comes with a recipe book and a 1-year warranty, making it a practical addition for ice cream enthusiasts.
Why Choose KitchenAid for Homemade Ice Cream?
KitchenAid stands out for its high-quality, durable ice cream maker attachment, designed to fit most stand mixers. It offers precise temperature control and even churning, ensuring creamy results. With a 2-quart capacity, it’s ideal for family-sized batches. The attachment is easy to assemble and clean, dishwasher-safe parts making maintenance a breeze. Plus, KitchenAid provides a variety of free downloadable recipes, enabling endless flavor creativity. Its reliability and versatility make it a top choice for homemade ice cream enthusiasts seeking professional-quality treats at home;
Components of the KitchenAid Ice Cream Maker
The KitchenAid Ice Cream Maker includes a double-walled freezer bowl, a dasher, and a drive assembly. These parts work together to churn creamy, homemade ice cream effortlessly.
The Freeze Bowl and Its Importance
The freeze bowl is a crucial component of the KitchenAid Ice Cream Maker. It must be pre-frozen for 15-20 hours to ensure proper churning. Constructed with double-walled insulation, it maintains low temperatures during the churning process, preventing ice crystals from forming and ensuring a smooth texture. Proper care, like hand washing, is essential since it’s not dishwasher-safe. The bowl’s compatibility with various KitchenAid mixers makes it versatile for different models, ensuring consistent results in homemade ice cream creation.
The Dasher and Drive Assembly
The dasher and drive assembly are essential for mixing and aerating ingredients. The dasher’s unique design ensures even distribution of ingredients, preventing ice crystals and creating a smooth texture. The drive assembly powers the dasher, maintaining consistent churn speed. Both components are easy to clean and dishwasher-safe, making maintenance hassle-free. Their efficient operation is key to achieving professional-quality ice cream at home, as outlined in the KitchenAid Ice Cream Recipe Book.
Compatibility with KitchenAid Stand Mixers
The KitchenAid Ice Cream Maker Attachment is designed to work seamlessly with most KitchenAid stand mixers, including tilt-head and bowl-lift models. However, compatibility varies by model. For tilt-head mixers, it is not compatible with KSM3316 and KSM3317. For bowl-lift mixers, models like 5KPM5, 5K5, and 4KSM5 are excluded. Ensure your mixer model is compatible before use. The attachment enhances your mixer’s versatility, allowing you to create homemade ice cream with ease, as detailed in the KitchenAid Ice Cream Recipe Book.
Assembling the Ice Cream Maker Attachment
Place the freeze bowl on the mixer’s base, align the dasher, and secure it. Hand-tighten the bowl to ensure a snug fit for proper churning.
Step-by-Step Assembly Guide
Place the freeze bowl on the mixer base, ensuring it aligns with the mounting pins.
Attach the dasher to the drive assembly and insert it into the freeze bowl.
Secure the bowl by gently turning it counterclockwise until it clicks.
Ensure the mixer is set to the “Stir” speed before use.
Always hand-tighten to avoid over-tightening.
This setup ensures proper churning and even mixing for perfect ice cream texture.
Tips for Proper Installation
Ensure the freeze bowl is completely frozen (at least 15 hours) before use. Hand-wash the bowl and avoid dishwasher cleaning. Align the bowl with the mixer base mounting pins for secure fitting. Gently twist the bowl counterclockwise to lock it in place. Always attach the dasher securely to the drive assembly. Double-check mixer speed settings before starting. Proper installation ensures smooth operation and prevents damage to the attachment.

Basic Ingredients for KitchenAid Ice Cream Recipes
Essential ingredients include heavy cream, whole milk, sugar, and egg yolks for custard-based ice creams. Dairy-free options use plant-based milks and natural sweeteners for a creamy texture.
Dairy-Based Ingredients
Dairy-based ingredients form the foundation of traditional ice cream, providing richness and creaminess. Heavy cream, whole milk, and egg yolks are common, with sugar adding sweetness. These ingredients create a smooth, custard-like base for flavors like vanilla or caramel. Dairy-free alternatives are also available, using plant-based milks and natural sweeteners. The choice of ingredients affects the final texture and taste, ensuring a delicious homemade ice cream experience. Many free KitchenAid ice cream recipe books offer detailed guides for both dairy and non-dairy options, making it easy to experiment with various tastes.
Non-Dairy Alternatives for Dairy-Free Ice Cream
For those with dietary restrictions, non-dairy alternatives offer a delicious solution. Plant-based milks like almond, coconut, or oat milk substitute traditional dairy, providing a creamy texture. Natural sweeteners such as maple syrup or agave nectar enhance flavor without dairy. These ingredients ensure a smooth, rich base for dairy-free ice cream. Many free KitchenAid recipe books include innovative ideas for non-dairy ice cream, making it easy to craft unique and tasty frozen treats that cater to all preferences and dietary needs while maintaining the signature KitchenAid quality and taste.
Essential Tips for Using the KitchenAid Ice Cream Maker
Properly freeze the bowl for 14–16 hours before use. Ensure all components are securely attached. Monitor churning time to achieve the desired consistency. Avoid overfilling the bowl.
Freezing the Bowl
Freezing the bowl is a critical step for optimal ice cream making. The bowl must be frozen for 14–16 hours to ensure proper churning. This allows the double-walled insulation to function correctly. Always store the bowl in the coldest part of your freezer. Avoid rinsing the bowl with water before freezing, as this can create ice buildup; Once frozen, the bowl is ready to use, ensuring your ice cream churns smoothly and evenly. Proper freezing guarantees the best results for your homemade ice cream creations.
Churning Time and Consistency
The churning time for KitchenAid ice cream typically ranges from 15 to 20 minutes, depending on the mixture’s consistency. Proper freezing of the bowl ensures the mixture churns smoothly, resulting in a creamy texture. Over-churning can lead to ice crystals, so monitor the process closely. The ideal consistency is soft-serve, which can then be transferred to an airtight container and frozen for a firmer texture. Consistency depends on ingredients and mixing speed, so adjust as needed for the best results.
Popular KitchenAid Ice Cream Recipes
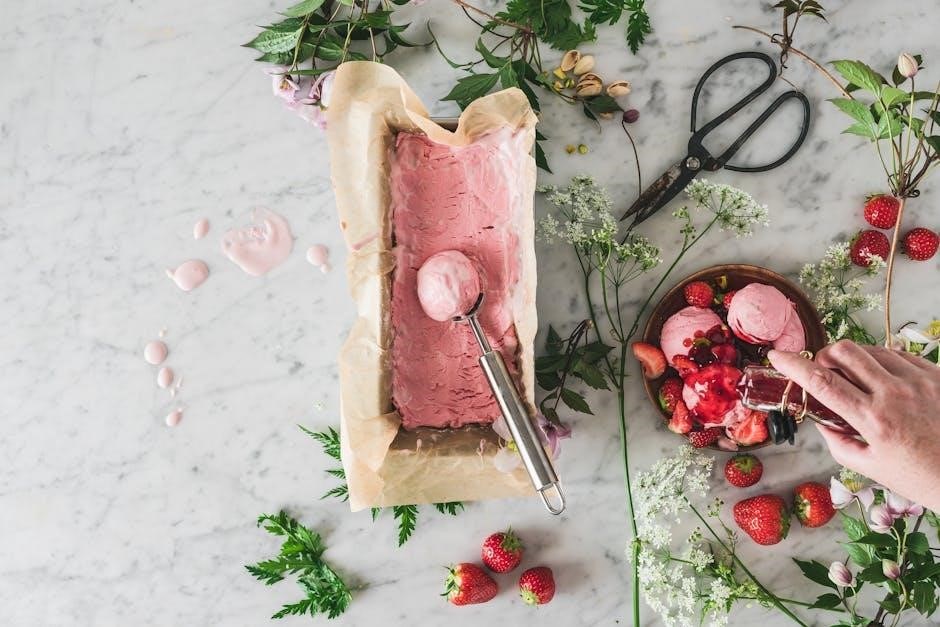
Enjoy classic vanilla, decadent caramel pecan, and rich triple chocolate ice creams. Explore sorbet and gelato options, all easily accessible in free downloadable PDF recipe books.
Classic Vanilla Ice Cream Recipe
The classic vanilla ice cream recipe is a timeless favorite, offering a creamy and versatile base for endless flavor variations. Using just a few ingredients—heavy cream, whole milk, granulated sugar, and pure vanilla extract—this recipe yields a smooth, velvety texture. Simply combine the ingredients, pour into the pre-frozen KitchenAid bowl, and churn until thickened. Freeze until firm for the perfect scoop. This recipe is a must-try for ice cream enthusiasts and serves as a great foundation for mix-ins like fruit, nuts, or chocolate chips. Enjoy the simplicity and richness of homemade vanilla ice cream!
Caramel Pecan Ice Cream
Caramel Pecan Ice Cream is a decadent treat featuring rich caramel swirls and crunchy pecans. Made with heavy cream, whole milk, sugar, and pure vanilla, the base is churned to perfection in the KitchenAid attachment. Stir in caramel sauce and toasted pecans for a luxurious finish. For the best results, ensure the freezer bowl is pre-frozen and churn until thickened. Optional sea salt enhances caramel flavor. This recipe, found in free downloadable PDF guides, is a must-try for caramel lovers seeking a creamy, nutty dessert. Perfect for special occasions or indulgent treats!
Where to Find Free KitchenAid Ice Cream Recipe Books
Free KitchenAid ice cream recipe books are available online through food blogs and websites. Downloadable PDF guides and collections offer easy access to various ice cream recipes.
Online Resources and Websites
Various online platforms offer free KitchenAid ice cream recipe books and guides. Food blogs and culinary websites provide downloadable PDFs and recipe collections. Websites like Rak Buku Maya SMKPS feature flipbooks with diverse ice cream recipes. Additionally, resources like QVC and Scarlett Cherry’s cookbook offer detailed instructions and creative flavors. These online resources are easily accessible, allowing users to explore classic and unique recipes without cost. They cater to both beginners and experienced cooks, ensuring a wide range of options for homemade ice cream creations.
Downloading PDF Guides
Downloading free KitchenAid ice cream recipe books in PDF format is straightforward. Websites like Rak Buku Maya SMKPS offer flipbook-style guides with detailed recipes. Scarlett Cherry’s cookbook, available as a PDF, features 150 recipes for homemade ice cream. These guides often include step-by-step instructions, ingredient lists, and tips for using the KitchenAid attachment. Users can easily download these resources to explore classic and creative flavors, from vanilla to gelato. PDF guides are perfect for offline access, ensuring recipes are always handy for culinary adventures.